
How to set up and use Inno-Maker HIFI DAC PRO with your Raspberry Pi
How to set up Inno-Maker HIFI DAC PRO hat for your Raspberry Pi

Previously I’ve written a guide with steps to enable and use Inno-Maker’s budget friendly RPI HIFI DAC hat for the Raspberry Pi. That particular DAC is a great option if you don’t want to spend a lot of money for decent sound (personally I think the sound of that DAC is quite good enough for most listeners).
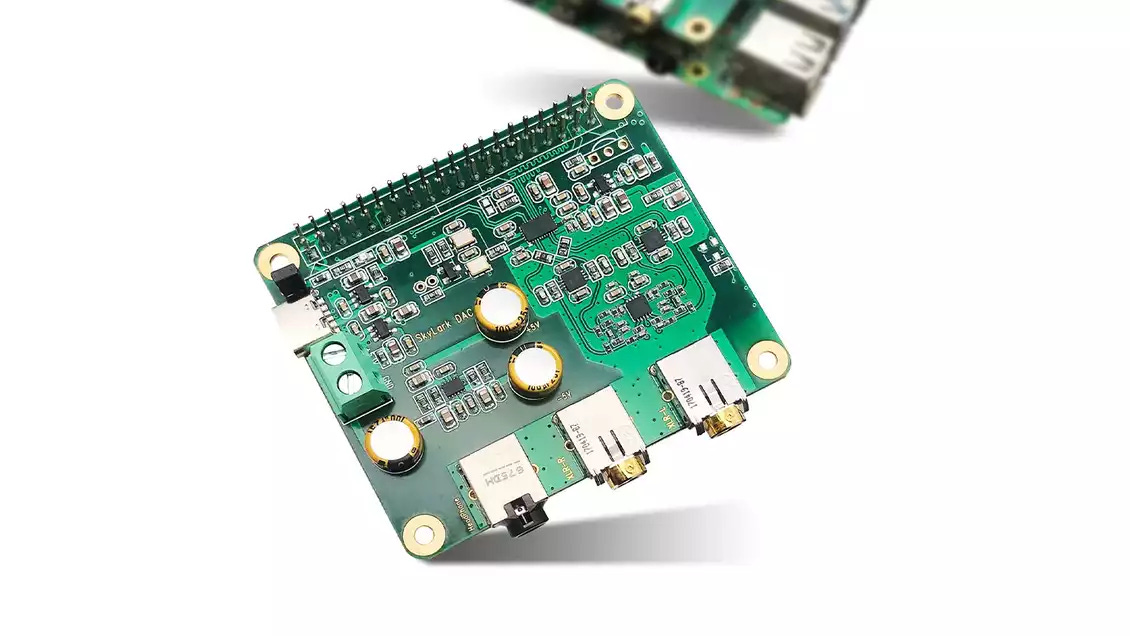
Recently, Inno-Maker have released a “Pro” version of their DAC line for the more discerning and critical listener. The cost is a bit higher, which is to be expected for something marketed as “Pro”.
This guide will focus on simply getting the Inno-Maker HIFI DAC PRO installed and working for your Raspberry Pi. I’ll evaluate whether or not the higher cost of this Pro DAC translates to better sound quality in a separate post.
In this guide, I’ll take you through the steps I use to set up the Inno-Maker HIFI-DAC-PRO and boost the sound quality of my Raspberry Pi running Headless Plexamp.
What is a DAC Hat?
A DAC Hat (Digital to Audio Converter Hat) is a piece of hardware that can be used to improve the sound quality of your Raspberry Pi. It converts digital audio signals into analog audio signals, resulting in improved sound quality.
How Does a DAC Hat Work?
A DAC Hat works by connecting to your Raspberry Pi via the GPIO pins. Once connected, it will convert digital audio signals into analog audio signals, which can then be sent to speakers or headphones, allowing you to get better sound quality from your Raspberry Pi.
Follow our guide to improve the sound quality of your Raspberry Pi by configuring Inno-Maker's HIFI DAC PRO. With a DAC Hat, you can get considerably better sound quality from your Raspberry Pi.